Enter the wonderful world of glitter nail polish, and the magic it can create.
Of course, there are a few tips to help you with your glitter manicure.
Now, on to those 55 hot glitter nail designs.
Jewel tones like amethyst, ruby, pink sapphire, and topaz lend themselves especially well to glitter nails.
Bottoms up
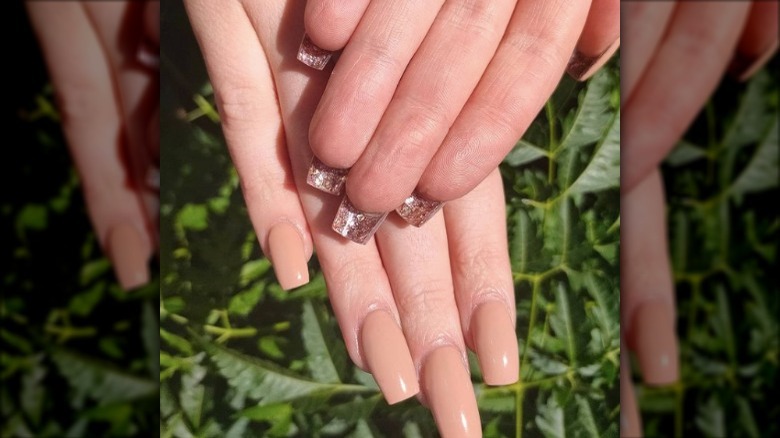
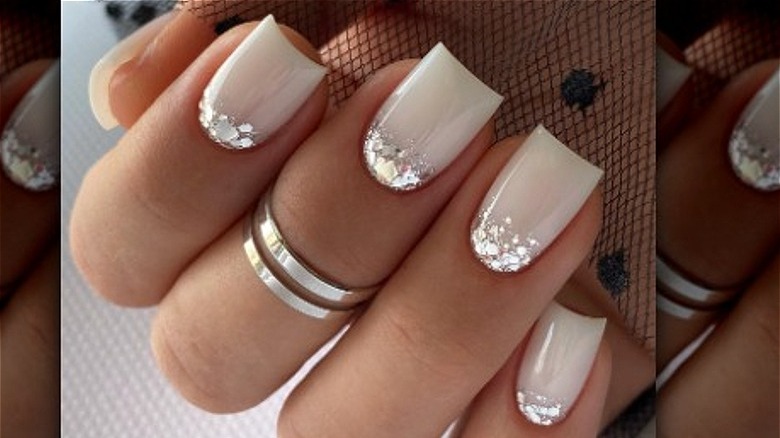
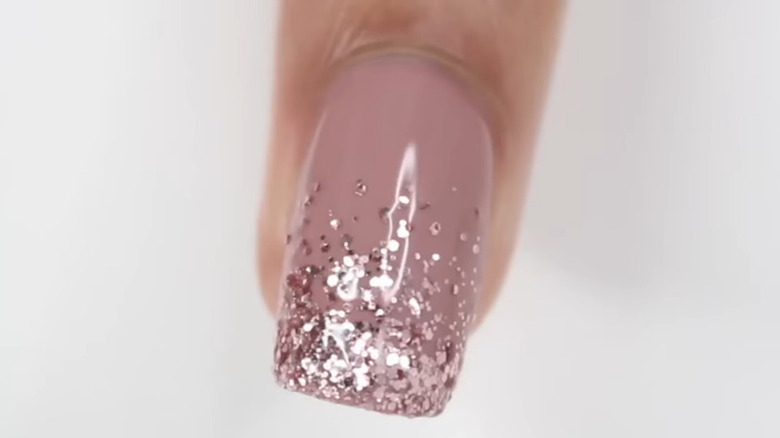
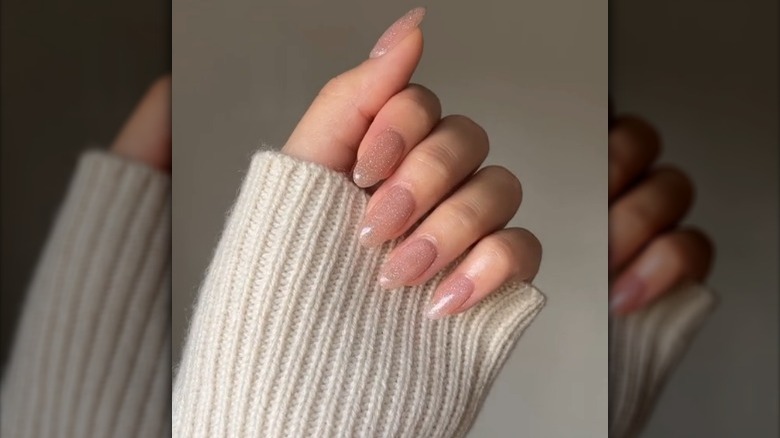
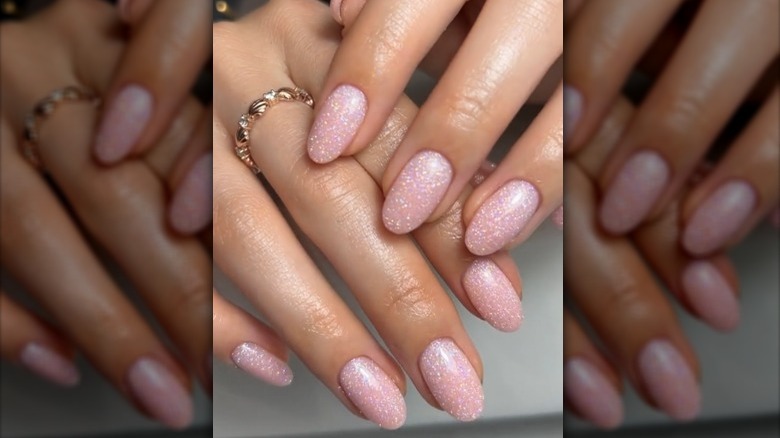
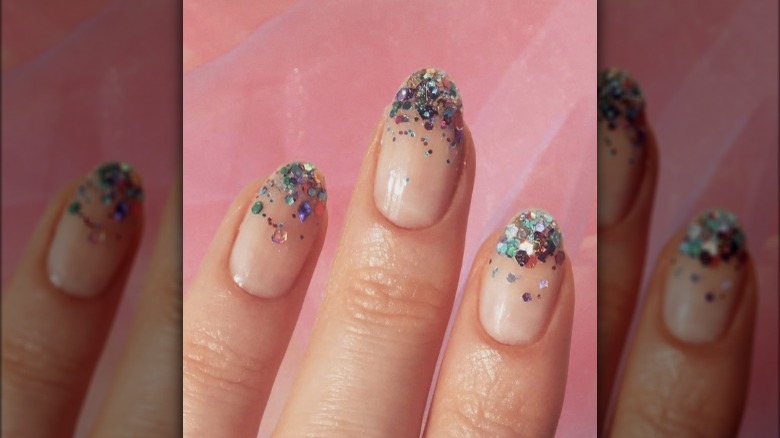
How do you up the style factor on a creamy white manicure?
By adding a touch of sparkle, of course!
It’s how you make a neutral nail extra special.
And this look is great for a bride.
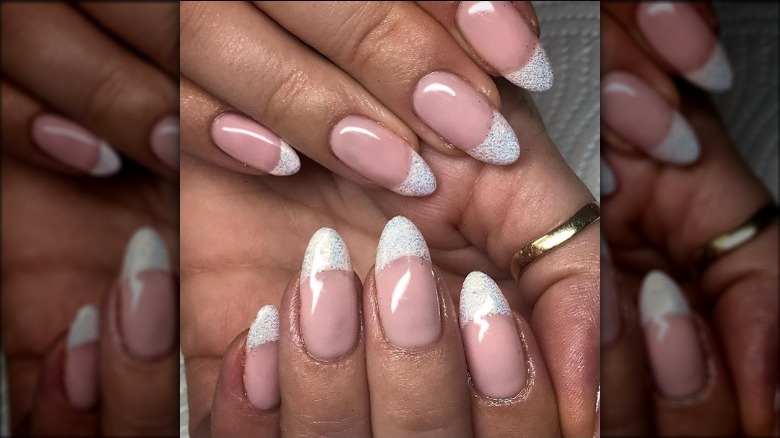
But they also lend themselves to creative twists, like with glitter.
Don’t be afraid to switch that classic look up.
To add sparkle, make that neutral base a glitter one.
Alternatively, you could opt for some glittery tips.
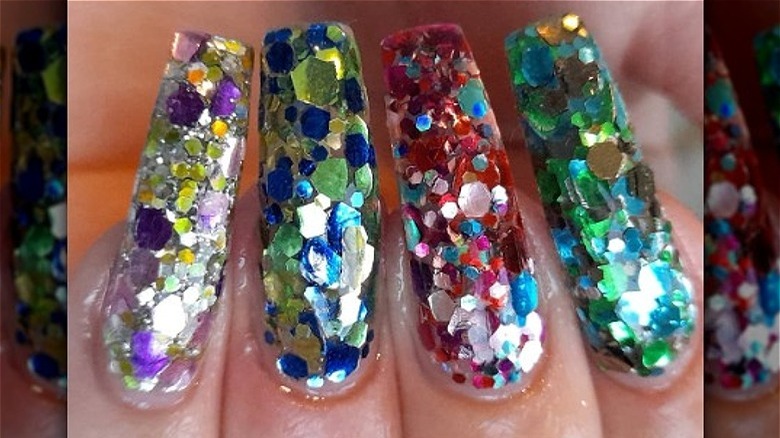
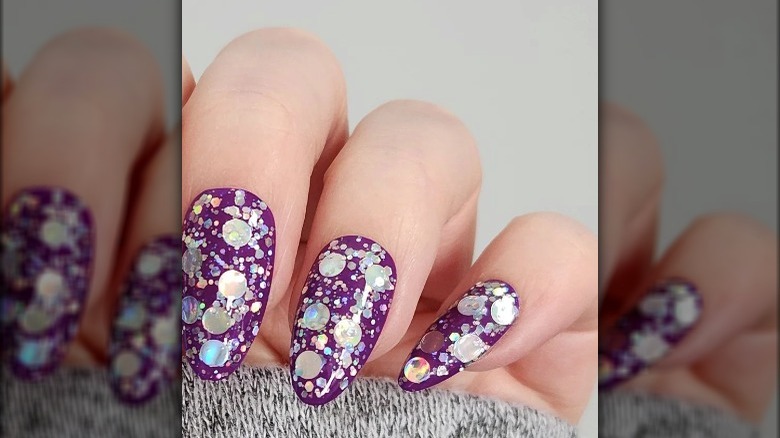
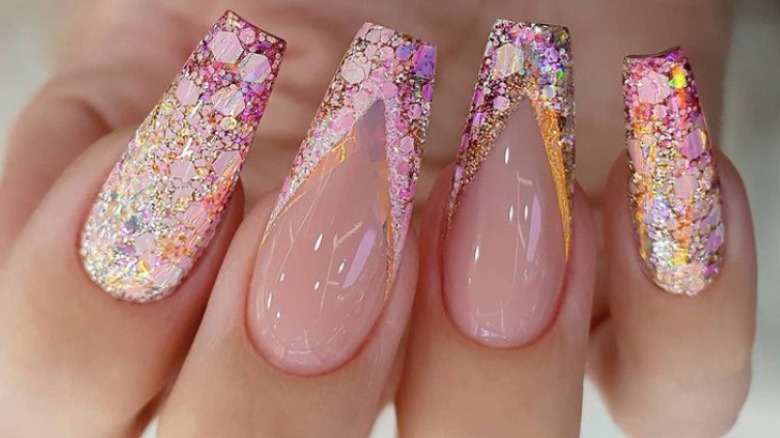
Jewelry box nails
Precious gems, anyone?
Glitter nail polish helps each nail look like its own treasure chest of jewels.
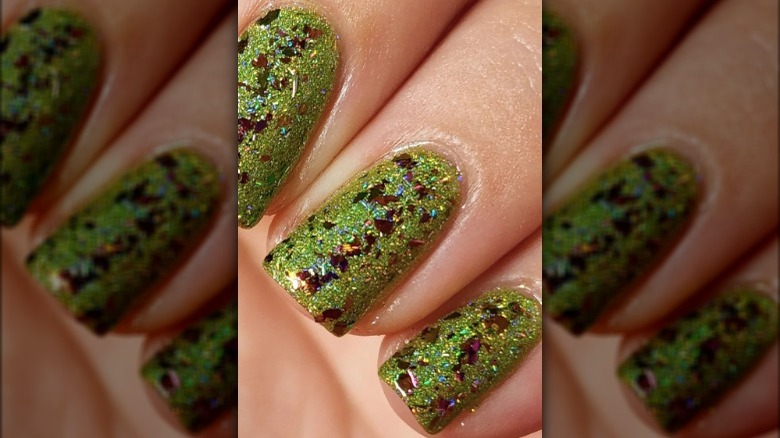
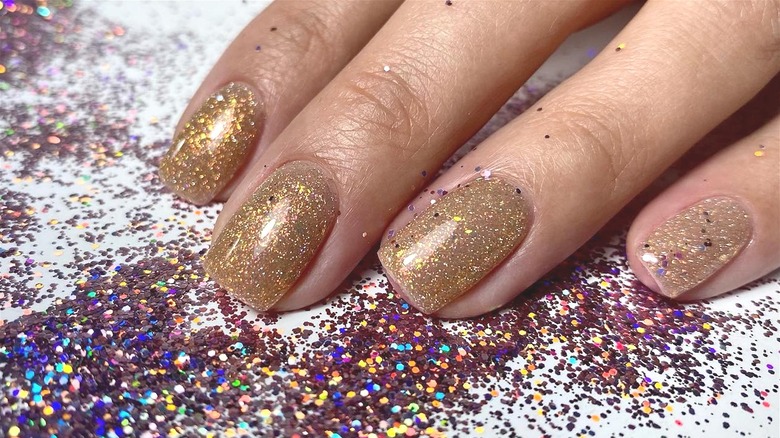
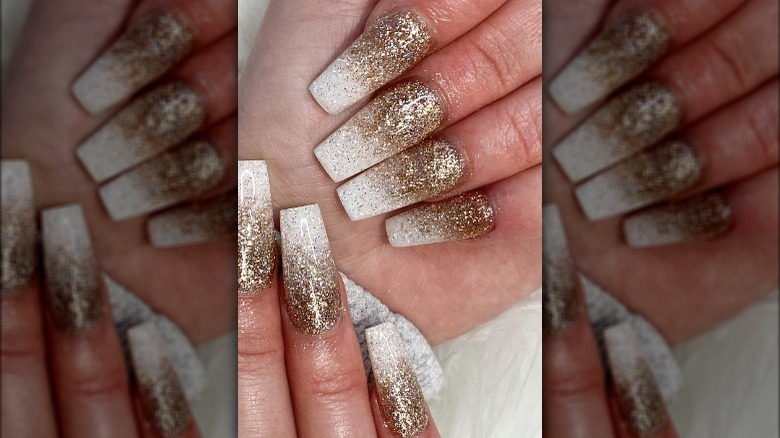
Fade into glitter
Adding glitter to a solid gold base helps create a monochrome look with texture.
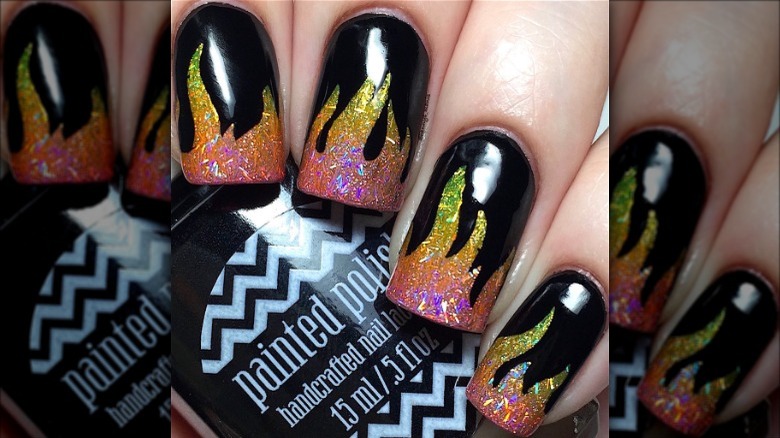
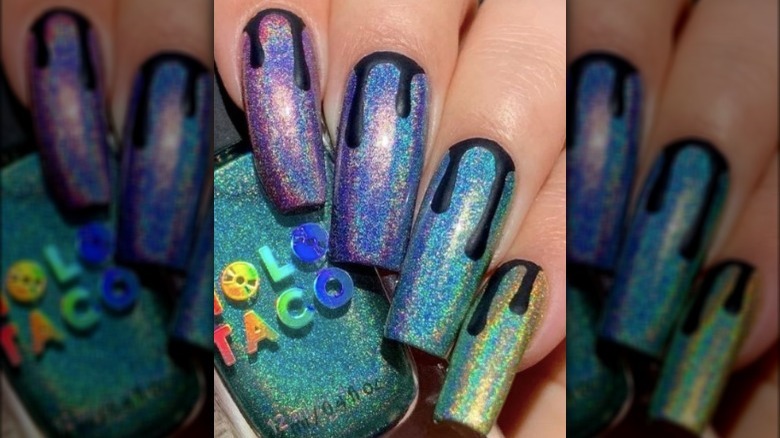
Flaming hot highlights
How hot are glitter nails?
Adding a glitter flame to black nails can only result in a steady stream of awesomeness.
Actually, the glitter comes first, courtesy of a holographic base.
A vinyl flame is attached at the top, then a black coat is applied.
When almost dry, the vinyl is removed to reveal this wicked-hot effect.
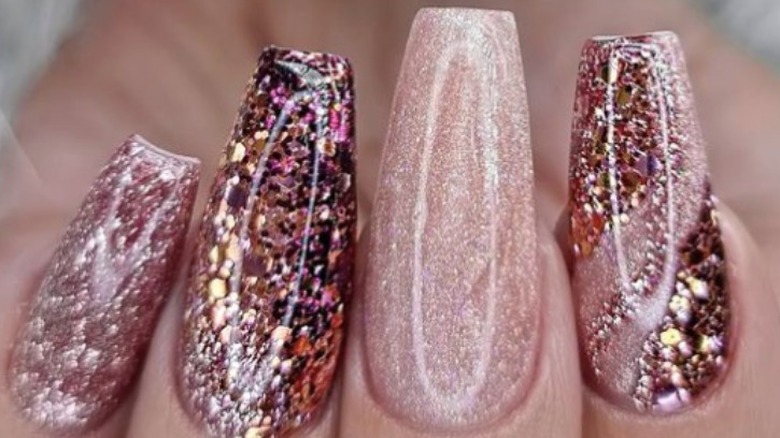
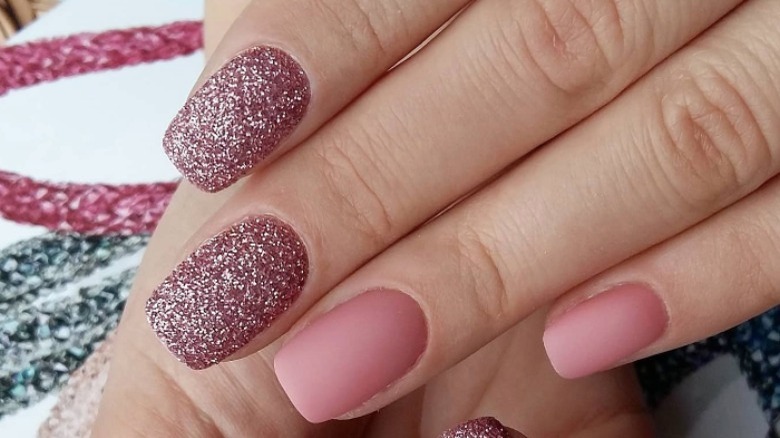
Rose gold for the win
Rose-gold nail polish is pretty.
Rose-gold nails plus shimmery rose-gold glitter in all sorts of light and dark shades are even prettier.
Yes, it’s okay to mix your glitter polishes all in the same manicure.
Just start with a gorgeous rose-gold hue and design your nails around it.
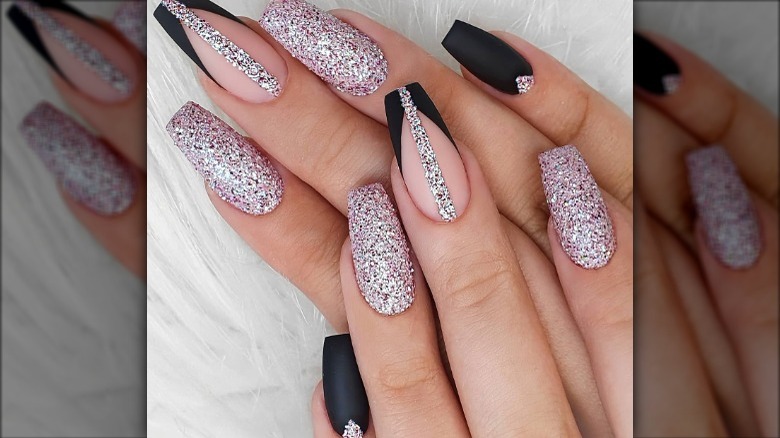
Why not stick with the color palette a la Wednesday Addams and do a black nail?
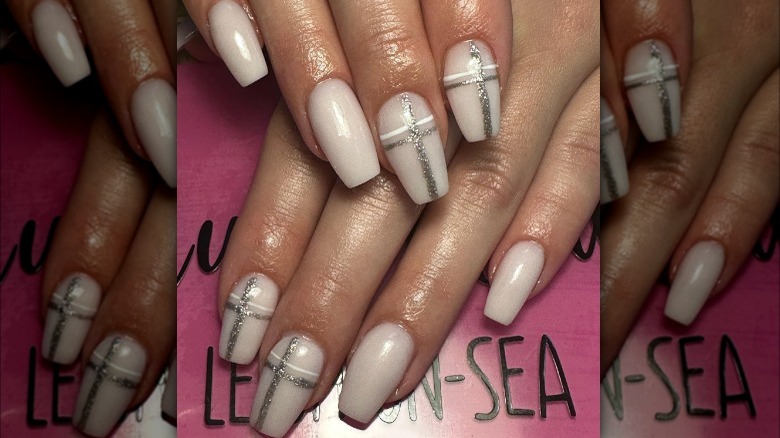
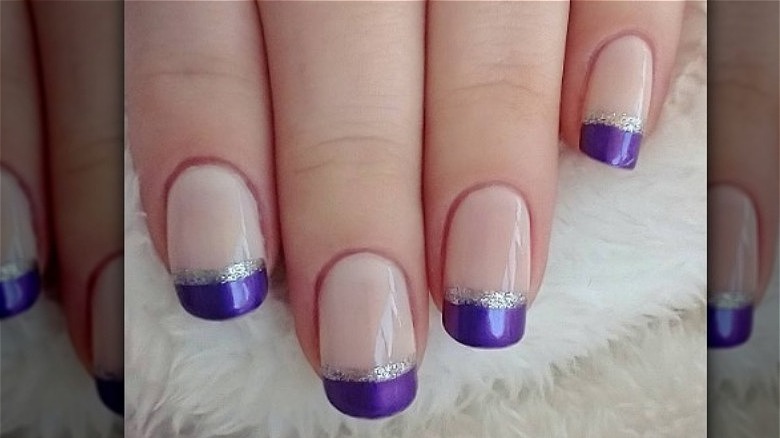
A neutral base of pale pink or creamy white gets royal purple chrome tips.
But why stop there?
Use a thin brush to draw a silver glitter stripe just beneath the purple.
For a steadier hand, use a bit of nail tape so you don’t invade the neutral base.
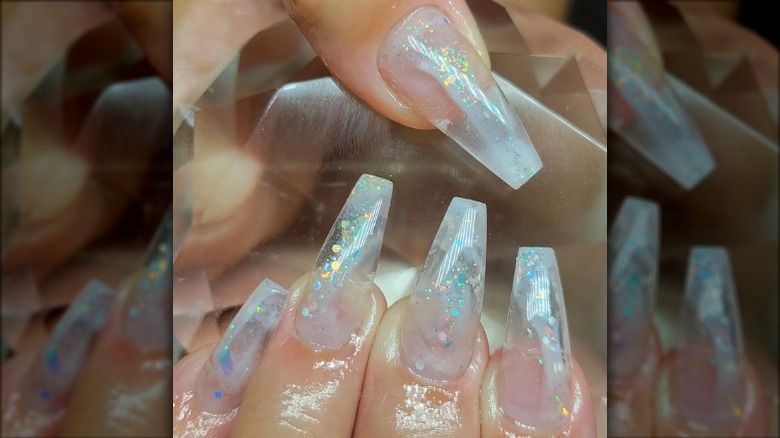
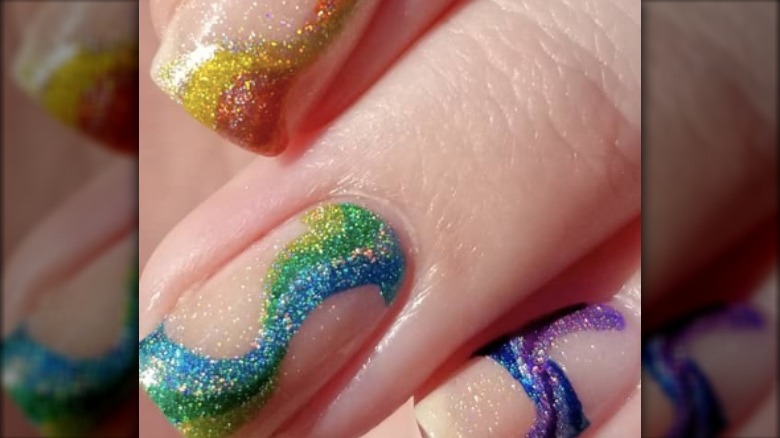
The trick is to find a polish with fine particles of glitter in a clear base.
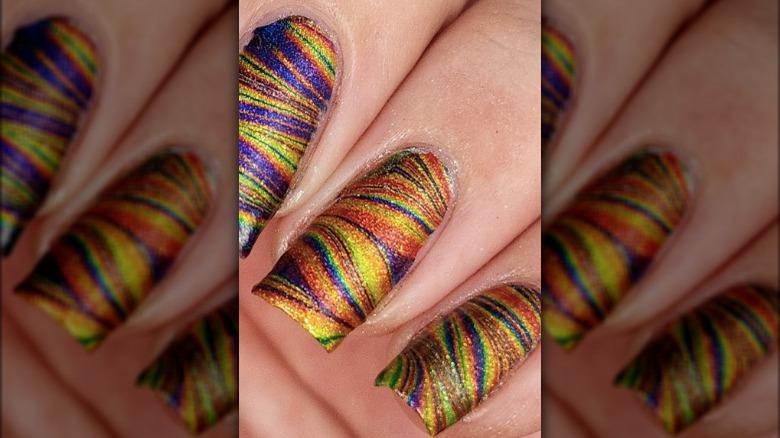
Try a swirled mix of glitter colors using the water marble technique.
Repeat for each nail, which will allow you to vary the colors and designs.
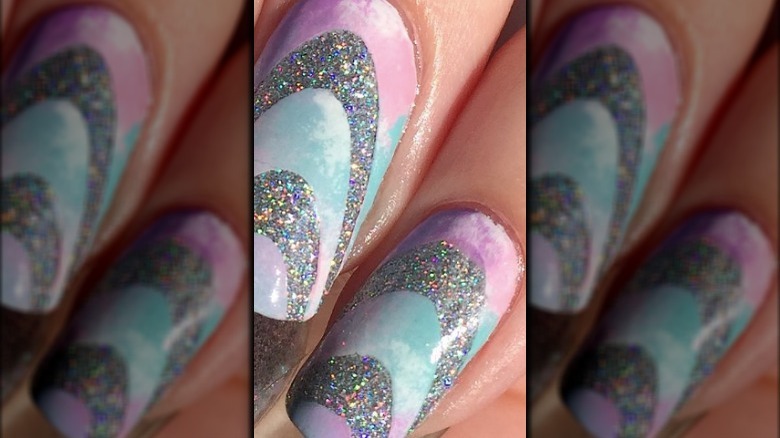
All about that base
Glitter accents are cool, but sometimes you need more.
That’s when a glitter base comes in handy.
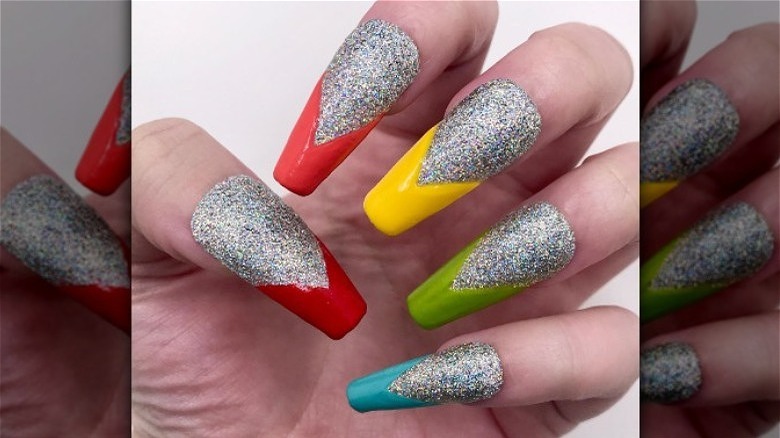
A solid coat of glitter can start out any nail look with the appropriate amount of sparkle.
Try a solid holographic glitter in a silver hue and layer it with two to three coats.
To cap it off, paint on V-shaped tips in bright, primary colors.
Paint some nails a solid color, and others with a glitter finish for a mixed manicure.
The matte finish lessens the shine of the glitter but doesn’t dull it completely.
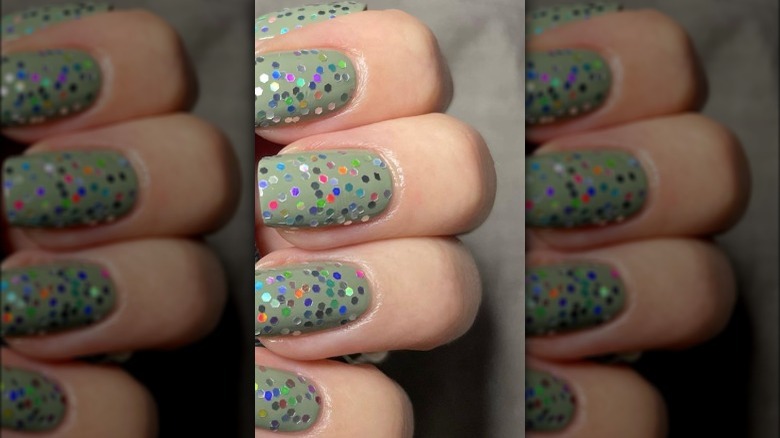
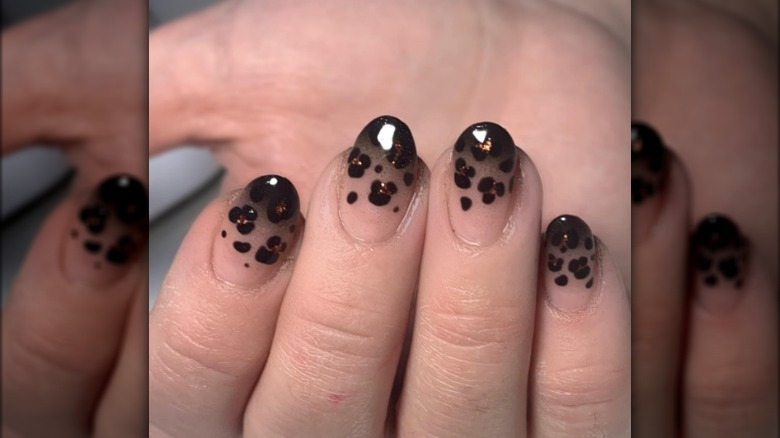
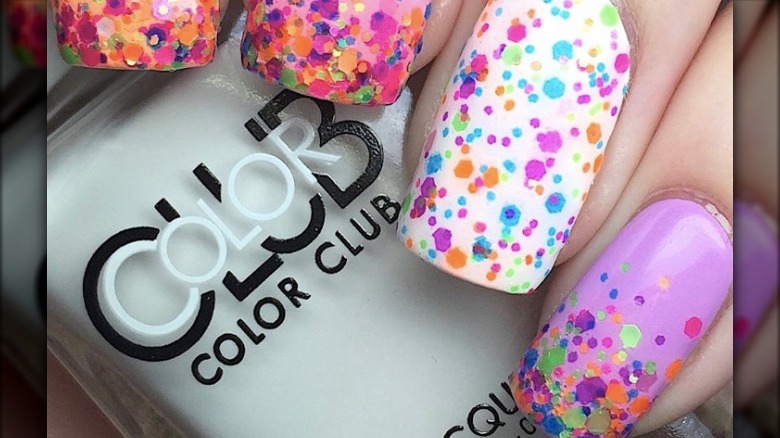
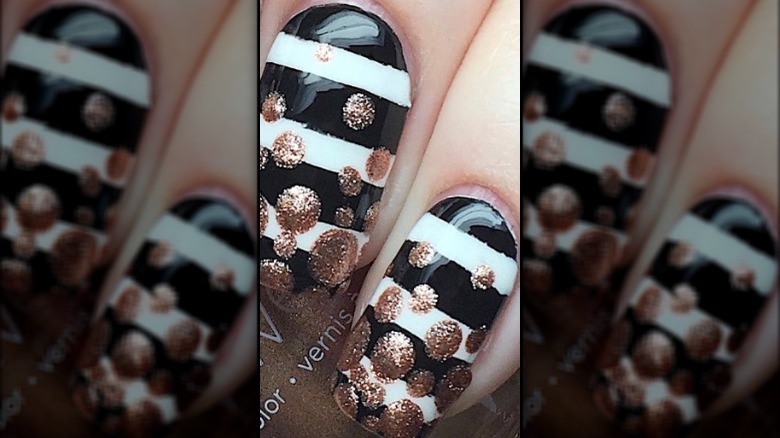
Spots and sparkles
Seeing spots?
You could be with this dotted and sparkled finish.
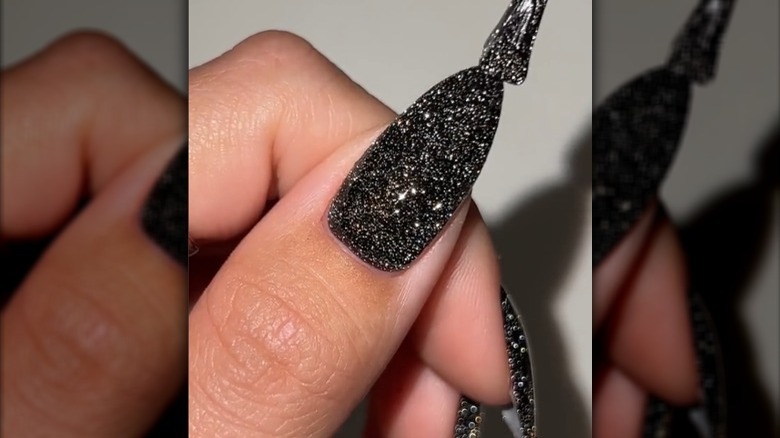
You could also use black glitter polish to create an extra gleam.
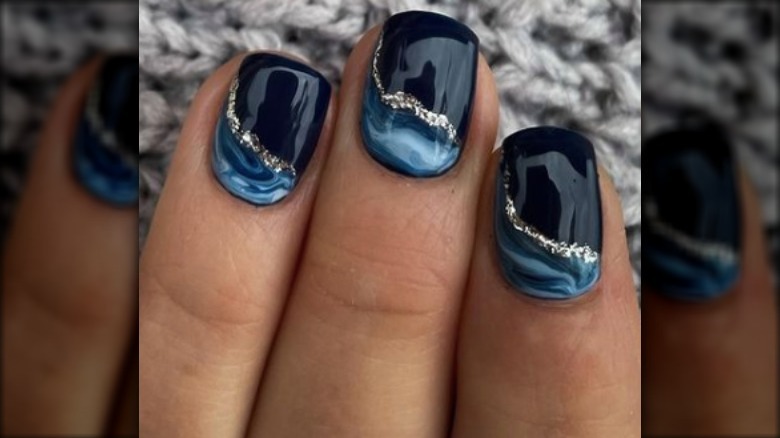
Start the look with a glossy navy blue base.
When dry, use a thin brush to paint a line of silver glitter as the marble vein.
Choose a clear polish with silver or multi-color, small or large glitter pieces.
Apply the polish to the sponge, then dab it onto your nail.
You’ll get more glitter, and less liquid from the polish, giving you more sparkle.
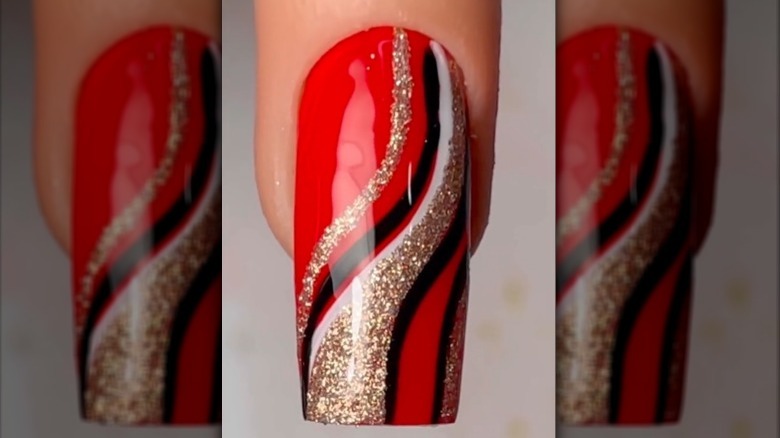
Using a thin nail brush, paint on curvy black and white lines.
Seal with a shiny top coat, and you’ve gone from classic red to totally awesome.
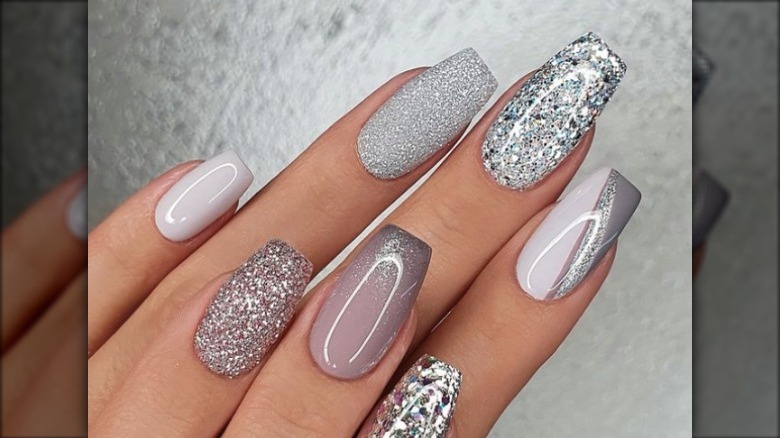
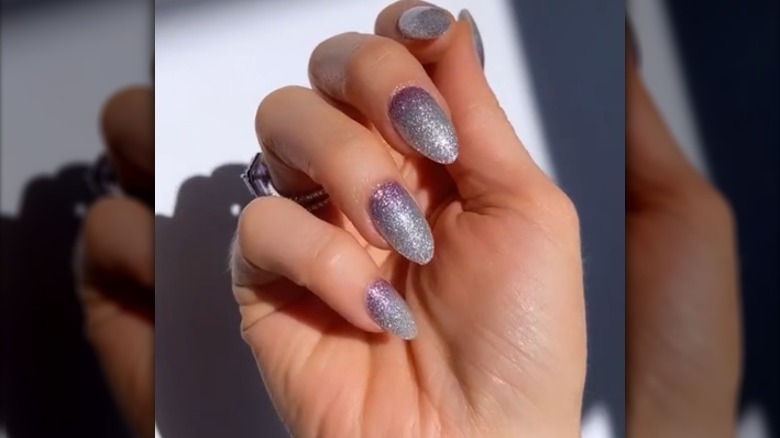
Silver – so many ways
Silver and gray never looked so good.
For the non-sparkle, try creamy polishes in various shades of pale, dark gray, and taupe-gray.
To go along with those, try chunky silver glitter on a few nails.
You’ll also want to use a smaller silver glitter for an ombre finish.
And then a medium silver glitter with a matte finish.
There are so many possibilities to bring this look to life.
Don’t forget a top coat over any glitter-polish look.
Add a new dimension to your existing nail design by dropping dots of gold glitter onto the nail.
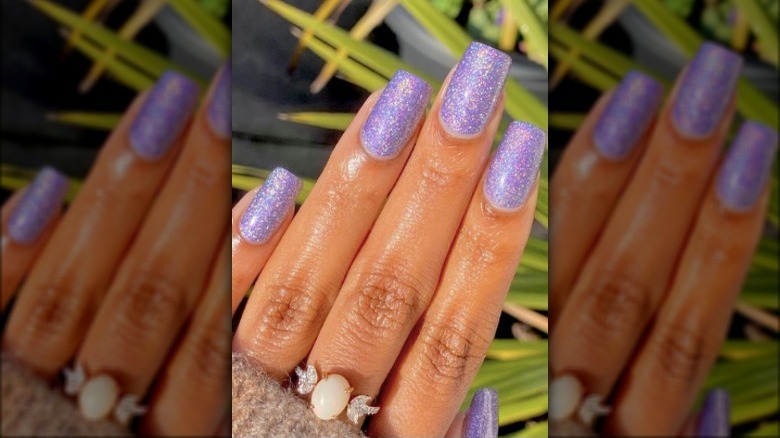
Try a holo nail as Instagram has dubbed the look in a gorgeous solid hue.
Start with a base coat in the color you want.
Allow the polish to dry completely, then brush off excess.
A top coat is essential to keep the glitter in place.
For contrast, center nails are given a glitter V-tip, with a gold glitter polish outline.
This technique creates such a pretty mix!
The base of this comic-book-looking nail is all about ruby glitter.
A matte top coat finishes off the look.
After the tri-color foundation has dried, use a stencil to paint on curved stripes with holographic glitter polish.
Drip it like it’s hot
How do you make glitter gradient nails even cooler?
Add a matte black polish to create a trendy drip paint finish.
Next, grab a matte black nail polish.
Apply a line of black along the curve of your bottom cuticle.
One great invention: magnetic glitter polishes.
After painting on a base coat, the magnetic glitter is applied over the top.
While still wet, a magnet is held over the polish, attracting the glitter.
Yes, it truly is that amazing.
Let’s hear it for glitter inventions!
Glitter on the side
Want another way to change up your existing manicure for week two?
Glitter polish is on the job.
A solid-color nail base can get a new design lease with a stripe of gold.
A stencil can help you keep either line steady and clean.
And, of course, you’ve got the option to do this with glitter nail polish.
To create the look, a makeup sponge is incredibly helpful.
Apply stripes of each color to the sponge, right in a row; be generous with the polish.
Dab the sponge on to your nails, repositioning slightly with each dab so the colors blend a little.
Bonus: The sponge soaks up some of the liquid, leaving you with more glitter power.
Au naturel glitter
Not natural nails, but rather, nails inspired by nature.
A basic, neutral taupe nail gets a boost of awesome with the addition of two glitter-leaf trees.
Draw a few simple black lines, then dab gold glitter around them for the foliage.

This take swaps out the white for glitter but still keeps the vibe strictly ballroom.
Fold over the extra wrap at the top of the nail and gently file off the excess.
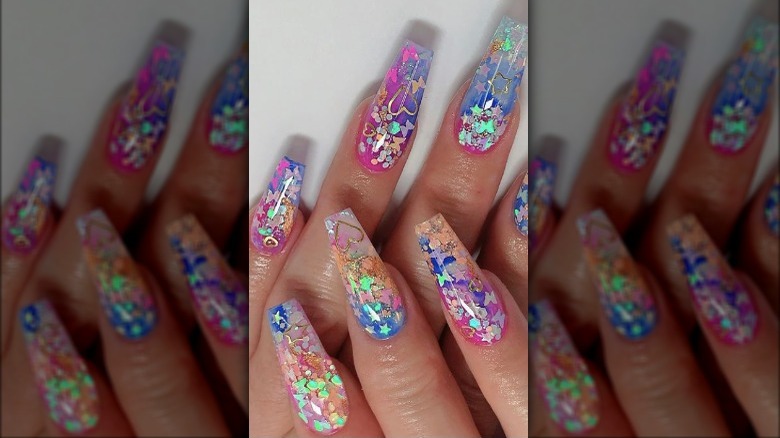
Flutter by butterflies
Love the magic of butterflies?
Have a beautiful monarch (or five) land on your nails, complete with glittery wings.
Choose an orange-gold glitter polish and paint the entire nail; let dry.
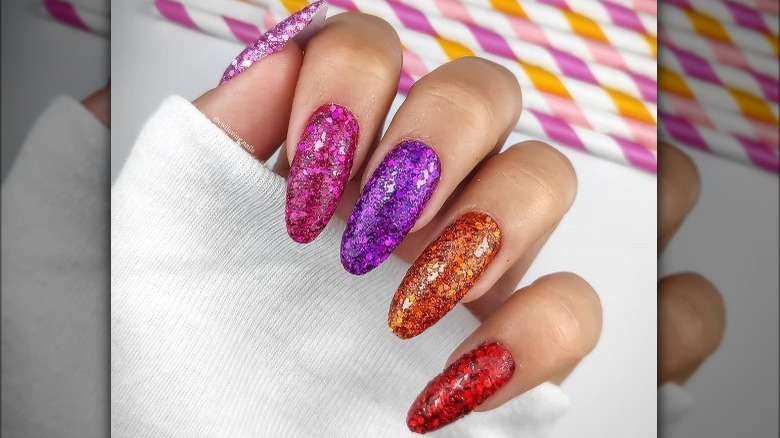
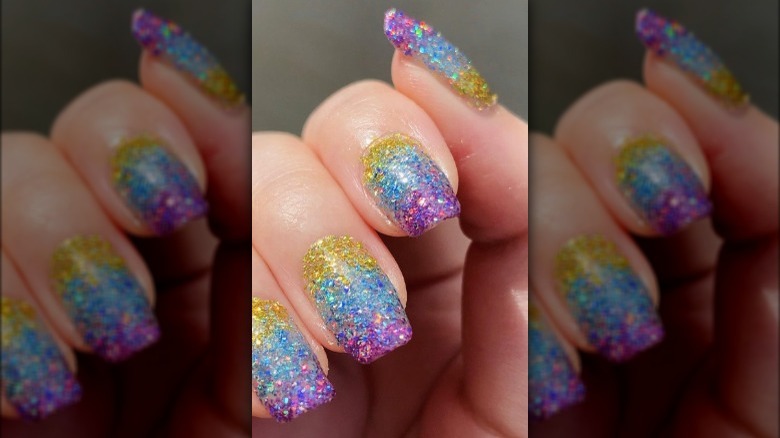
Why choose just one?
Can’t decide if you want to do an all-glitter nail, or just maybe a few glitter accents?
The key is to pick a color palette and stick with it.
Black and pale-pink polish start out this scenario, and gold glitter is used to create the shiny accents.
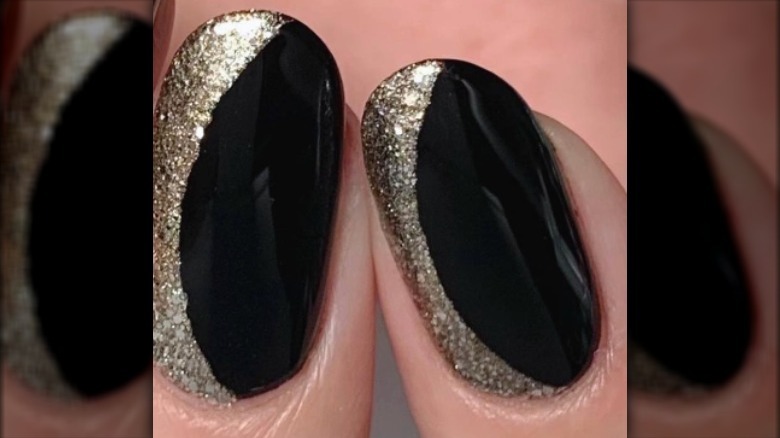
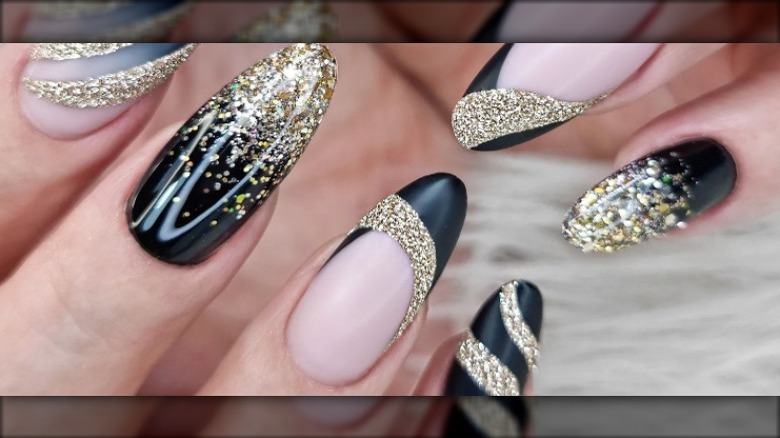
A touch of gold
Gold glitter is a classic, and can be worn all by itself.
Just keep the stripes thin so you don’t cover up the beautiful base.
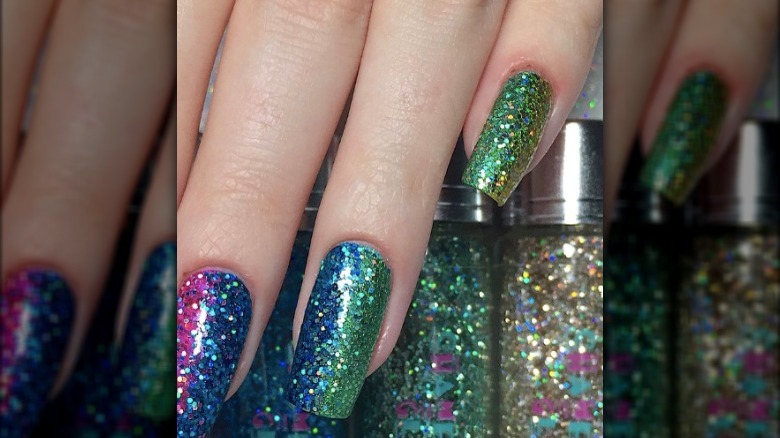
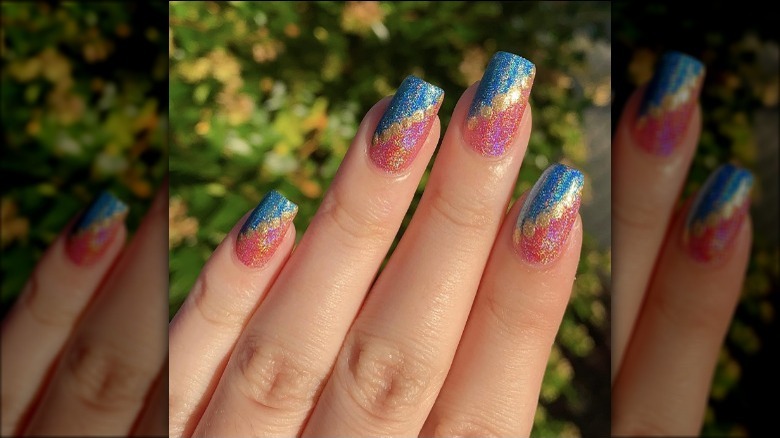
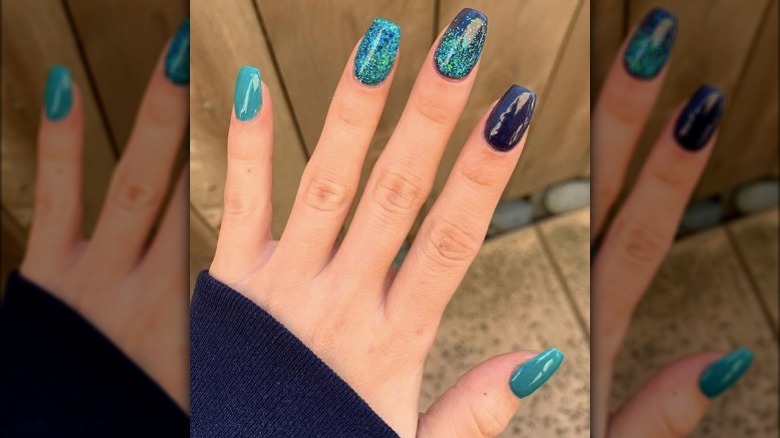
Feeling blue
Oh, the things you might do with blue, teal, and glitter!
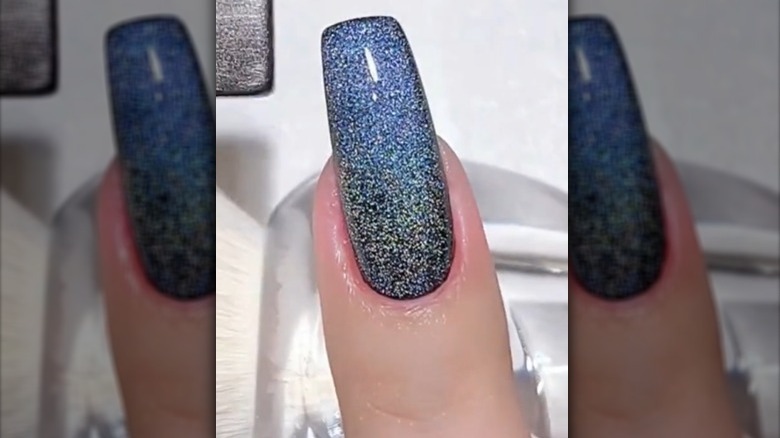
On one dark nail, start the glitter at the bottom and let it fade at the top.
On one teal nail, do a solid coat of glitter.
Blue never looked so happy.
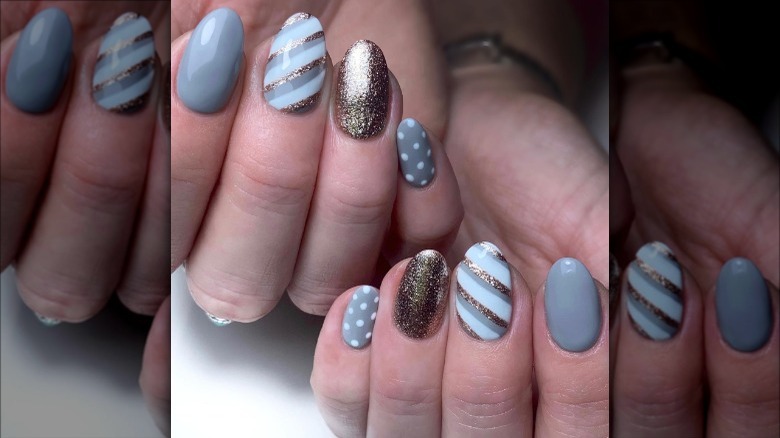
For instance, take a gray and white mani technicolor with a gold metallic edge.
Shiny glitter polish with micro-fine gold flakes looks fabulous all on its own next to white polka-dots.
These swirly squiggles were created by applying curved stripes of holographic glitter polish onto the nail using a dotter.
First, though, a natural nail was brushed over with just the tiniest hint of silver glitter polish.
Each nail includes three coordinating colors, applied so the stripes look like they’re twining with each other.
The rainbow of colors gives new meaning to a Skittle manicure.

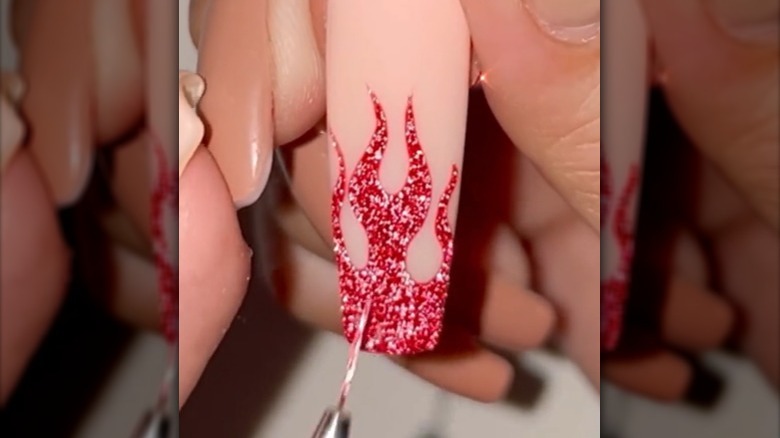
This nail is on fire
What’s hotter than a perfectly done pale nail?
One with a glittery red flame.
Fill in the curves and you’re cooking with fire!
it’s possible for you to also add extra ones.
And that means you might layer them without building up your nail to inconceivable heights.
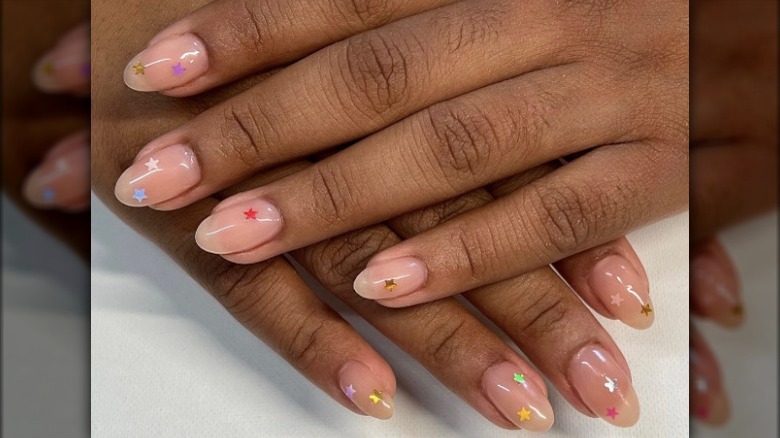
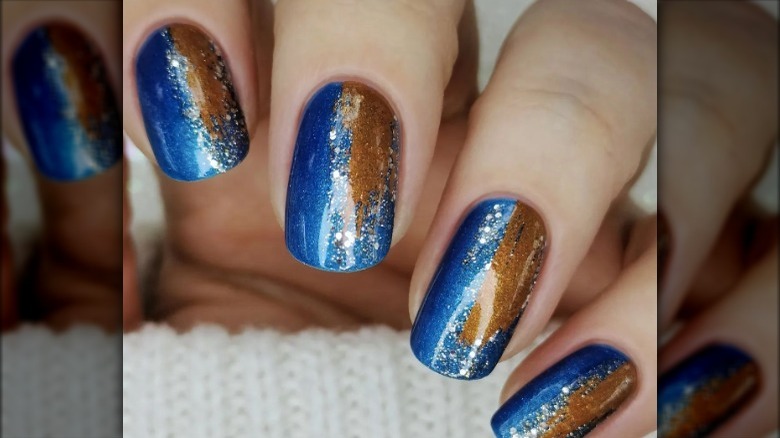
Glitter at night
What’s prettier than a dark blue sky with a golden moon?
One that also includes the stars.
Start out with a shiny blue base and let it dry.
Paint on the stars with silver glitter, covering one half of the nail.
The “moon” is a swash of bronzy-gold polish mingled with the stars.
You’re feeling very Van Gogh right now, aren’t you?
There are several ways to create the trend, but the most popular is via magnetic nail polish.

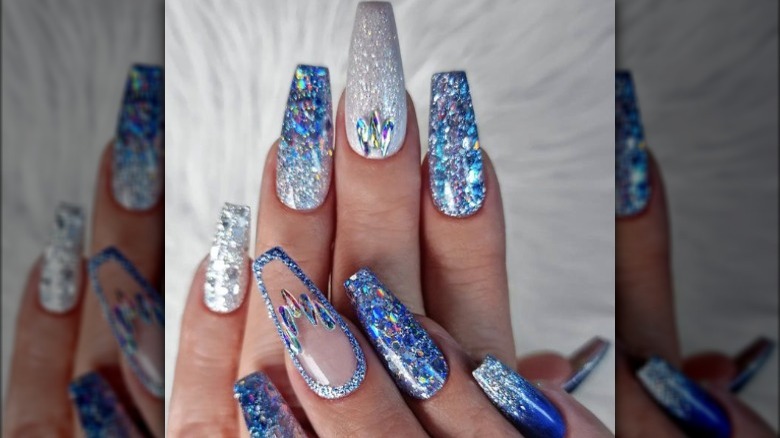
Multi mani
A multi mani has multiple nail designs, all on one hand.
Your color palette is the only consistent thing, with permission granted to get creative in every other way.
Blue and silver are the theme here, using both solid colors and glitter polishes.
Larger holographic flakes coat one nail, while plain silver is the base of another.
Blue glitter performs an ombre with silver glitter, while silver tops a solid blue.
Everywhere you look, there’s something twinkly and shiny to admire.

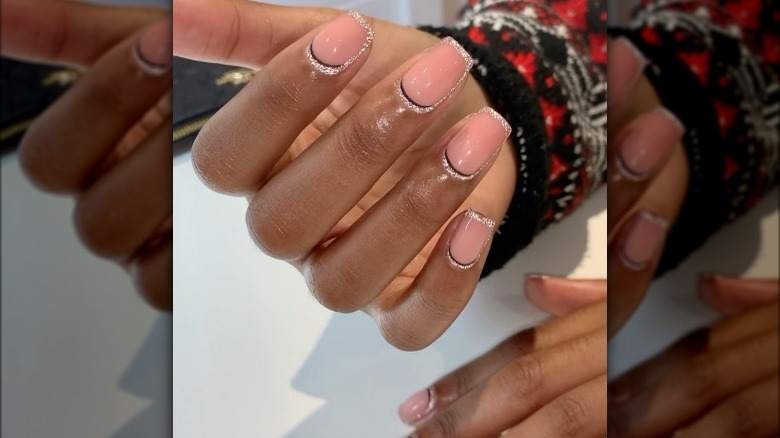
Surrounded by glitter
Hands up you’re surrounded by glitter.
you might do a French manicure with maroon tips.
And you could add a fade right in the middle of the nail.
And you’ve got the option to do it with glitter.
Win, win, win.
Start with the red edge and let dry.
You might want to use a plastic plate or plastic bag instead of your hand for the polish palette.
Finish with a top coat.
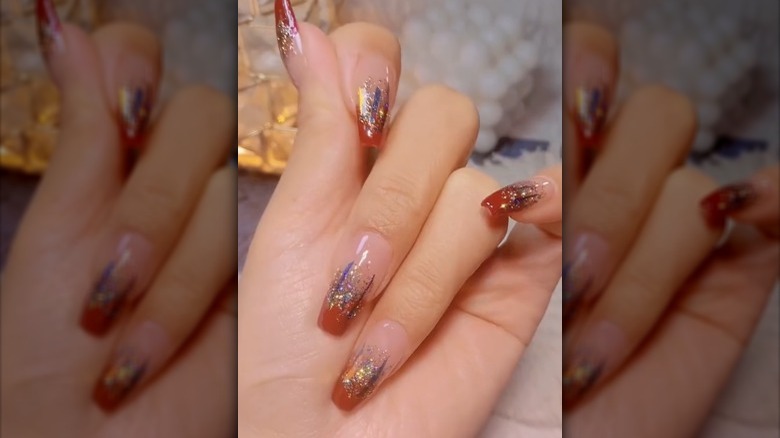
Underneath it all
The mullet of nails!
Business in the front, party in the back or underneath, as it is.
The next nail picks up with the same color, then introduces a new one.
It’s an across-the-hand gradient.